My Planner

Planning for Personal Growth in 2016

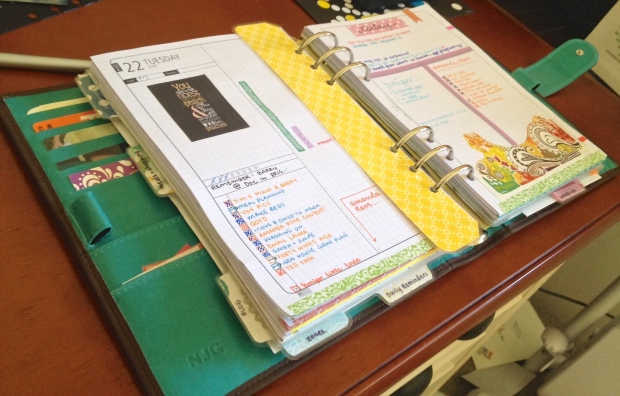
If you’ve been following along you’ll know that I’m in the middle of my ‘Getting Organised for 2016’ blog series. I had intended that Part 2 be about my university planner, but since I still have almost 2 months until uni begins for the year I thought I would skip right to Personal Growth Planning instead.

The one thing I’ve found about goal setting for personal growth is that to see results I really need to make a plan, and for me (and most planner addicts) that means putting pen to paper. And the more beautiful the paper the better!

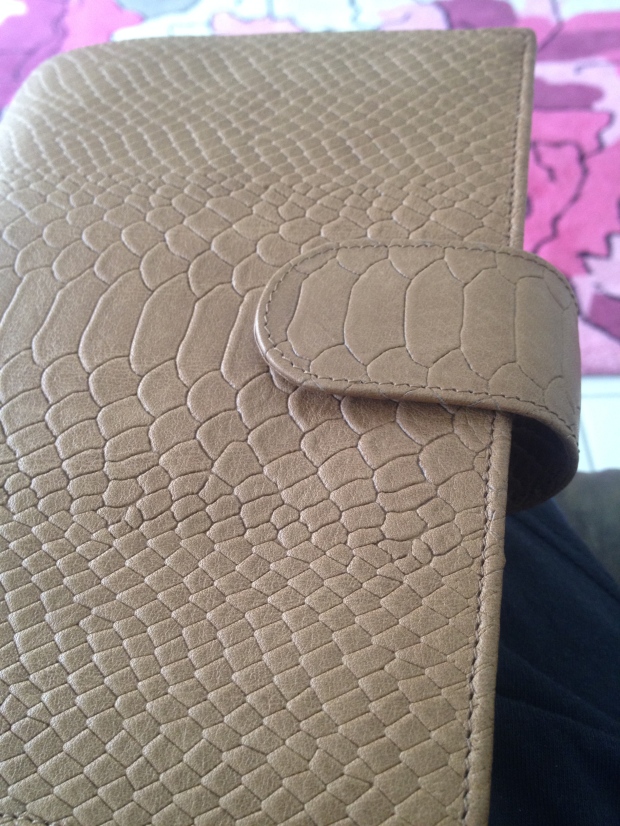
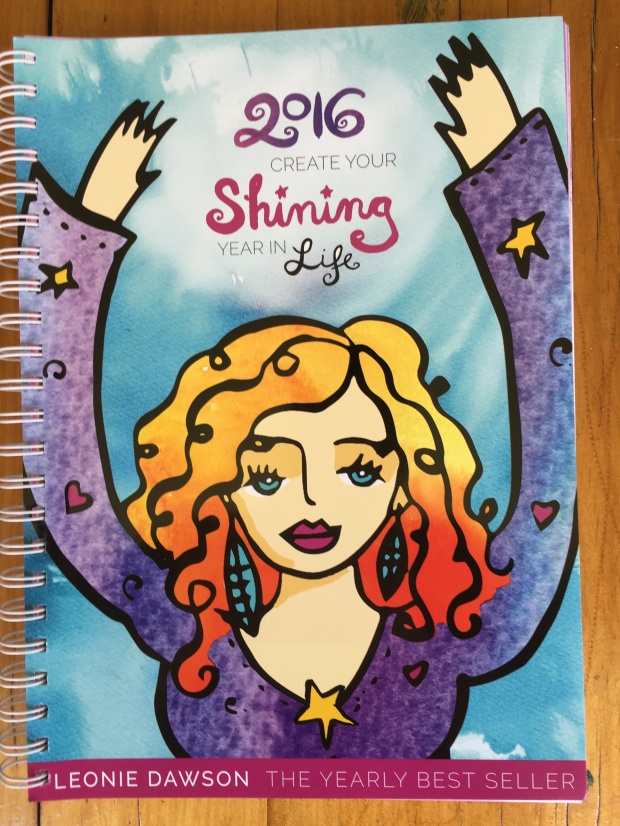
The one resource I swear by for personal growth and goal setting is the Leonie Dawson life planning kit. It’s beautiful and inspiring, as well as being quite inexpensive, and best of all, it really helps me to focus on all the different areas of my life.

IMG_2558.JPG

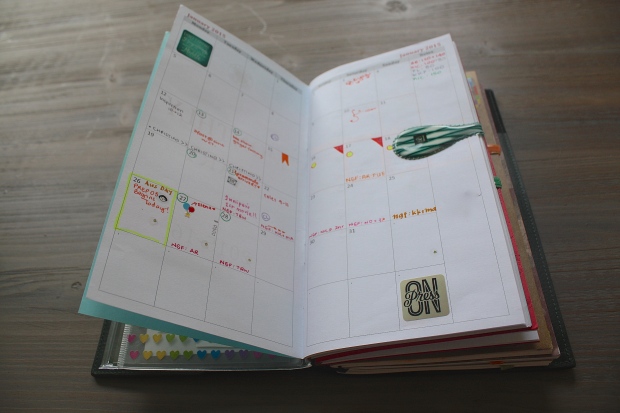
There are a few options available from the site, if you just want to focus on personal growth in 2016 there is a ‘life‘ planner, if you want to expand your business in 2016 then there is a ‘biz‘ planner, and if you want to flourish in both areas you can get a discounted combo kit. There is also a yearly planner/diary type thing (but as you know I’m all set in that department for 2016).

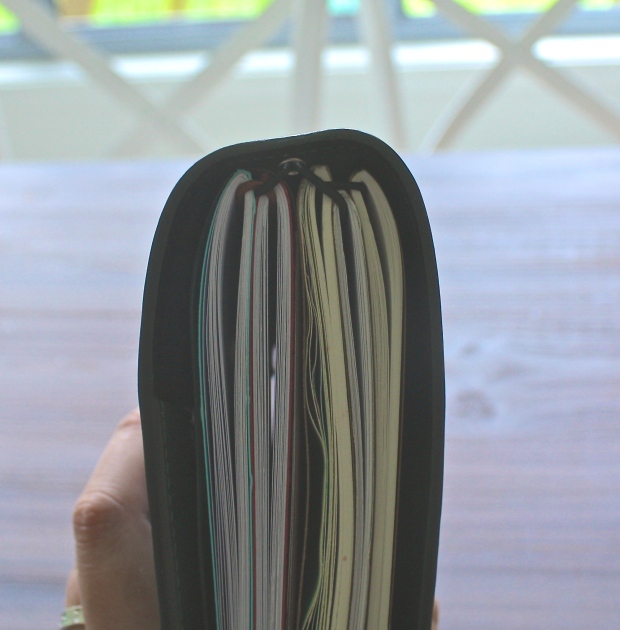
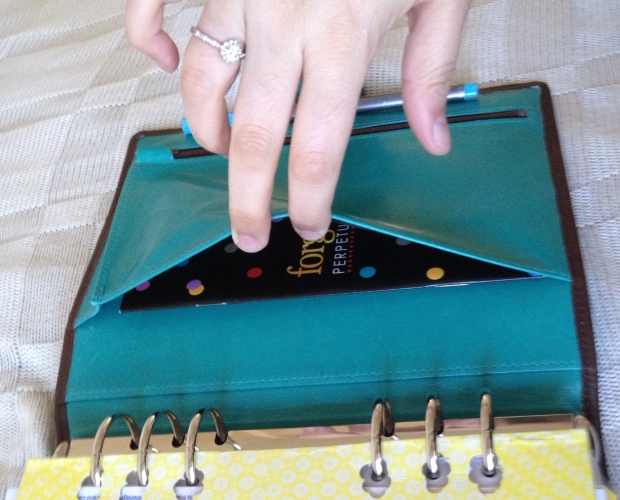
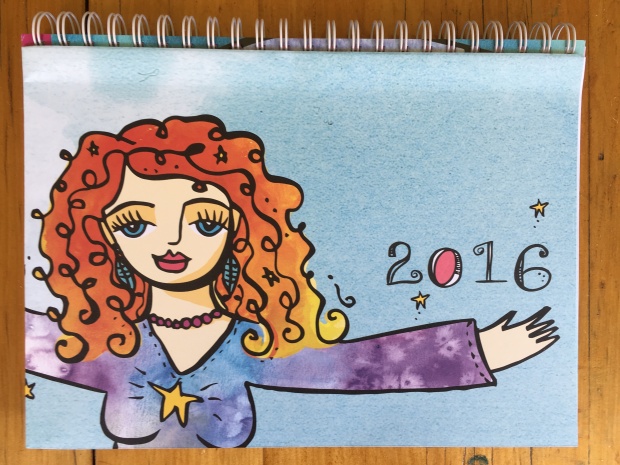
I’m feeling pretty comfortable with my business growth from last year so I skipped the biz planner this year and just bought the 2016 shining life kit, which includes a gorgeous 160 page goal setting book and a yearly wall planner.

IMG_2560

IMG_2562

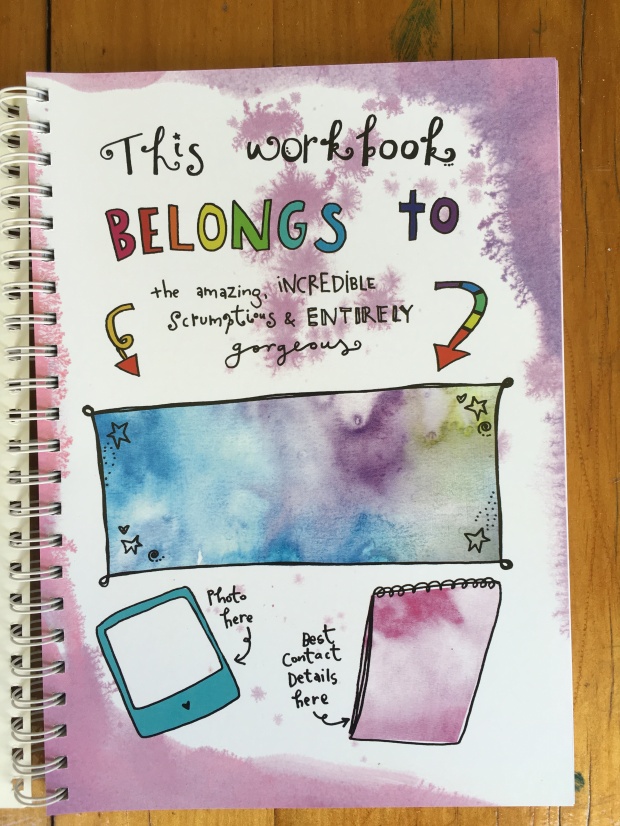
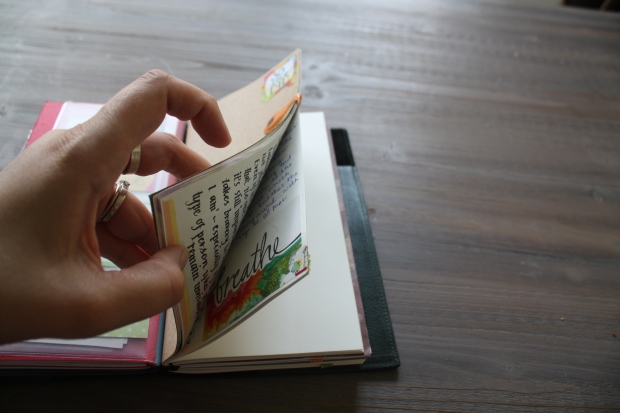
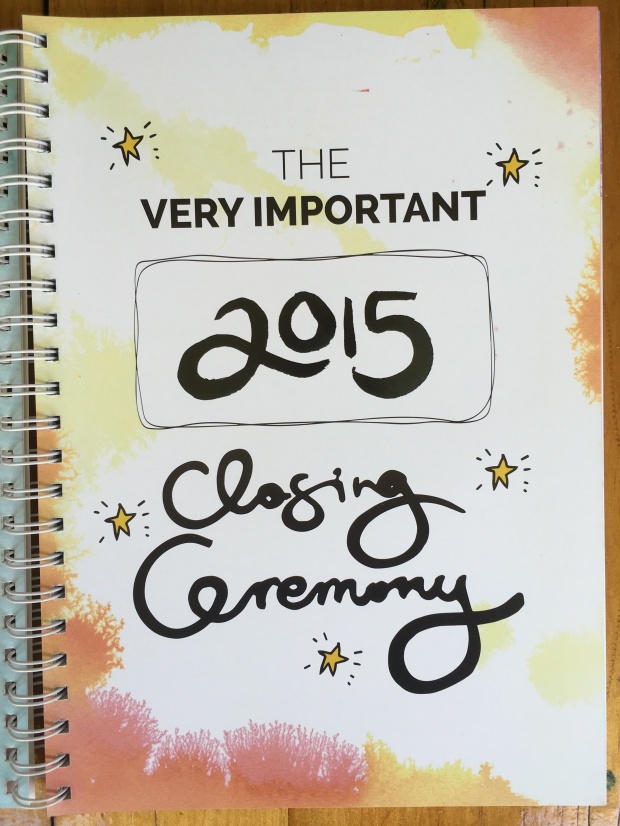
The book itself is gorgeous, with beautiful illustrations and thick glossy paper. It sounds silly but every time I open it I feel so excited for 2016. One of my favourite parts about the booklet is the “closing ceremony” section. Before you begin planning your goals for 2016, you reflect on 2015 and celebrate your wins and take stock of what you achieved (as well as what you didn’t).

IMG_2563.JPG

After the closing ceremony, you delve into creating a map for what you want to achieve in 2016 and there are a bunch of gorgeous sections including:

Creativity
Soul
Mind
Relationships
Family
Body
House
Travel & Adventures
Finances
Community
Self-care
Support

FullSizeRender.jpg

FullSizeRender 2.jpg

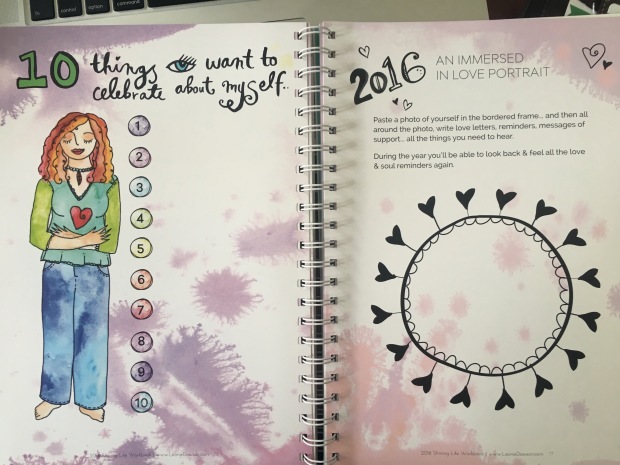
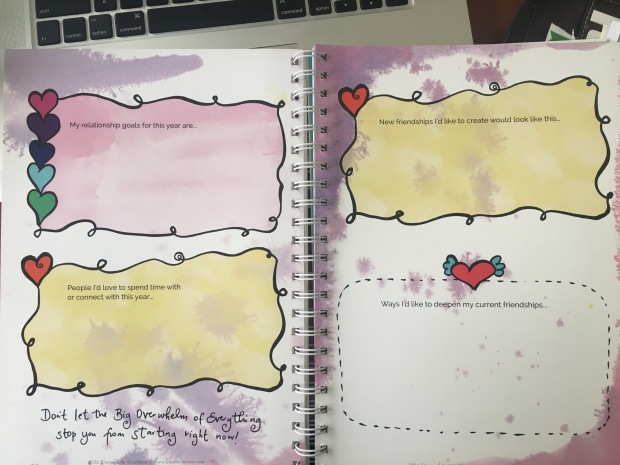
Each section has about 5 pages, filled with questions and illustrations to help inspire you.

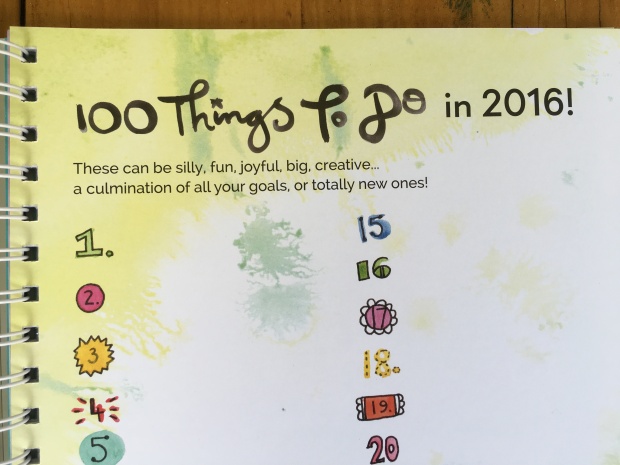
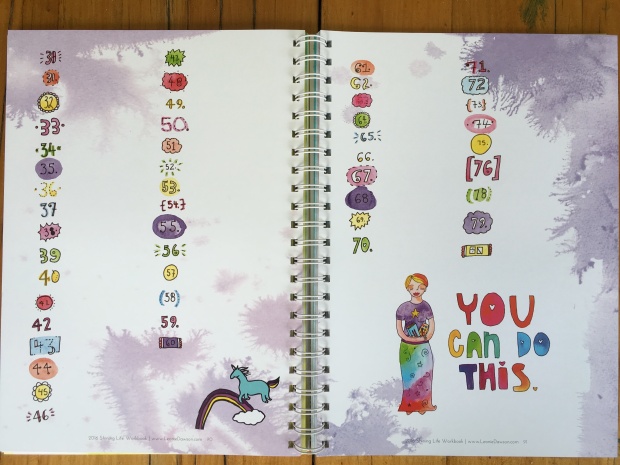
About half way through the book is a ‘100 things to do in 2016’ section which I LOVE. As a long time ‘project zero-er’ and total list addict I am super excited to fill in this part (and start ticking things off!).

IMG_2566

IMG_2565

There’s also lots of extras like what to do when you ‘fall off the wagon’ and forget to chase your goals and how to deal with bad days, but I won’t share too much because half the fun is opening the book and taking a look through it for yourself!

There is also a Facebook group of “Shining Life & Biz” fans filled with lots of inspiring and helpful women, and Leonie herself has lots of programs and resources available on her site, but I can’t vouch for them because I’m just a stationery devotee, I haven’t tried out the rest of her stuff.

This particular bundle is the 2016 life goals workbook which cost me $21.95 (AUD). The biz goals book costs the same, and there are also bundled kits available, as well as a more inexpensive digital version of each.

So! That’s it for my personal goal setting. If you’re using a different planner or resource for your personal goal setting I’d love to read about it. Leave me a comment below.

Stay tuned for my 2016 university planner set up, coming later this week.

Getting Organised for 2016

The holiday season is one of my favourite times of year because the approaching new year means a shiny new planner set up.

Generally throughout the year I try not to change my planner up too much, so the new year gives me an opportunity to tweak my current system and add some new goodies to my stash.

My planner life consists of 3 separate areas, so over the next week I’ll publish 3 different posts to give you an idea of where I’m at and what tools I’ll be incorporating to keep me organised in 2016.

This first post will be about my day-t0-day planner, followed by one for my study/university planner, and one for my personal growth and goals set up.

So, without further ado:

Getting Organised in 2016: Day-to-Day Planning

If you’ve read my “how to use a planner to get organised” post, then you’ll know that I am a big fan of only having one active calendar, no matter how many planners you have. So, while I have 3 planner systems, only one of them has an actual calendar in it. In my opinion this is crucial for keeping on top of everything in your life. More calendars means more ways for stuff to fall through the cracks which is just setting yourself up for failure.

This year I’m using my trusty old Holborn Zip as my main planner. I’ve had this lovely thing for about 4 years now and it’s in great shape. I also have an A5 VDS which I adore, but nothing beats being able to stuff things into a zipped planner and know they’ll be safe until you need them again.

Meet the Holborn. She’s not as pretty as some, but she’s not delicate either and that’s what I like about her.

IMG_2533.jpg

This year I’ve chosen printable inserts from the “Perfectly Organised” etsy store. They are very similar to what I was using last year, but with a slightly different colour scheme to make it feel fresh and new.

IMG_2534

The main thing I’ve found with a weekly view planner, is that I need a section to put upcoming events/appointments. So I’ve changed the IMPORTANT box in this printable to a NEXT WEEK box, where I can write down any big events in the coming week. That way I don’t get blindsided on Monday morning when I flip the page to the new week.

I don’t do a lot of decoration in my main planner, but I do allow myself one planner luxury throughout the year and that is stickers. There’s just something about playing with stickers that makes me happy. I tend to prefer functional stickers over decorative ones, and my favourite way to create stickers that work for my family is by personalising the Erin Condren photo stickers.

They are $5 per sheet of 30 stickers and you can put anything you like on them. You can have the same sticker 30 times or 30 different stickers or any combination in between. I got a bunch of these this year, including: swimming lesson stickers for my daughter, “due” stickers for work projects, “7 days” stickers to warn me of uni assignment due dates and so much more. It was a lot of fun creating them and they really stand out in my planner which makes staying organised super easy.

IMG_2543

The one problem with stickers is that they can be difficult to store. I’ve chosen to store mine in a 4×6 photo album which I picked up super cheap from a dollar store. I’ve categorised each pouch for easy access: work, school, family, money, housework etc

IMG_2539

Aside from the main calendar section in this planner, I also have a few other tabs. Including:

Info
This section has all of our bank account information, utility account numbers, license numbers, passport details. It’s basically a quick reference guide for anything we might need for each member of the family.
Contacts
Pretty self explanatory!

Shopping & Budgets
Here I write meal plans and shopping lists, all my budgets and financial information, as well as wishlists for each family member.
To-do:
Here I have a master to-do list, broken up into smaller to do lists including the flylady section, which I’ve covered in another post.

PRO TIP: To avoid ‘to-do list panic’ choose only 3 things a day from the master list and add them into your personal tasks each day. If you get them done and have spare time choose 3 more.

IMG_2541

IMG_2540

So that’s the basic run down of my day-to-day planner for 2016. If you have any questions about the set up (or anything else) leave a question in the comments below, and stay tuned for the student and personal goals updates coming later in the week.

Happy planning!

Gillio Giramondo Review & Setup

I’ve had my newest addition to my planner family for about a week now so I thought it was time to share some photos of the setup in my new planner.

Those of you who follow this blog will know that I am a binder girl when it comes to my planners. I’ve been a binder fanatic ever since I got my first ever Filofax about 8 years ago, so adopting the ‘traveller’s notebook’ format has been a big step for me.

If you don’t already know what a traveller’s notebook is, take a look at this “Filofax vs Travelers Notebook” video to get an overview.

I did a lot of research before I decided on the system I wanted to test out, and in the end I chose to go with the Gillio Giramondo. It took some patience, the website has been out of stock forever (at least it feels that way to me!) and these babies are hard to come by, but I was lucky enough to be having a bout of insomnia about the same time that Melissa at Pembroke Papers, decided to list hers for sale on the Gillio Marketplace, and I snatched it up.

Let’s take a look:

IMG_1619

As you can see I got the green epoca leather. Truthfully it wouldn’t have been my first choice of colour but I really love it!

IMG_1620 IMG_1621

The Giramondo cover comfortably fits 5 notebooks inside, as well as the midori plastic zip insert. This is how I have the notebooks strung currently; two on the first elastic and 3 on the second.

IMG_1623

I am not using any elastic bookmarks, instead choosing to use oli clips as page markers. I prefer the neatness of the ollies and the dangly bits of the elastic bookmarks annoy me a little – I’m weird like that.

IMG_1622

My first insert is the zip insert from Midori filled with stickers and my “If lost please call” project life card.

IMG_1627

Then I have a Ray Blake Original month on 2 pages (MO2P) insert which has all of 2015 and 2016 inside.

IMG_1630

Next is the Ray Blake day on 1 page (DO1P) inserts. These hold 2 months to a booklet. I have the January opening of the first booklet oli clipped to today’s opening in the second booklet so I easily move between the two booklets without having to flip between unnecessary pages.

IMG_1633

I use the DO1P pages in the bullet journal format to easily see my tasks, notes and events for the day. I’ve only been using this system for a week now, but I’m loving it so far. It’s not as pretty as my Life is Crafted inserts but it’s certainly as functional.

The third notebook/insert is a standard blank Midori insert and I use it as my personal journal:

IMG_1639

The fourth booklet was a gift included in the Giramondo parcel from Pembroke Papers (thanks Melissa!) and I use that one for my brain dump book, and the fifth booklet is a standard Midori lined notebook which I use for various lists.

IMG_1643

So how is it working out for me?

Well, the Gillio Giramondo cover is gorgeous of course. Gillio are known for their spectacular leather and this cover is no exception. But it’s functional too, the Giramondo cover is slightly wider than the original Midori one, so it can hold more notebooks without overhang which I like a lot. With my current set up none of my inserts are touching the closure elastic at all which I love.

One of the reasons I bought the Giramondo over other brands was because it had the additional pockets and credit card slots but actually I’m not using them at all.

As for the inserts/set up, I’ve been in the TN now for a week and I haven’t even glanced at my Van Der Spek. Y’all know I love the A5 size binders because you can fit so much in, I can never get used to a personal binder because there just isn’t enough writing space. Well, this is the best of both worlds. It’s more portable than an A5 (by a lot!!) and because there are no rings, you don’t lose ANY writing space like you would with a personal binder.

So, it turns out that this binder gal might just turn out to be a TN girl after-all. The system is excellent, and the Giramondo cover definitely gets 5 stars.

Welcoming the Gorgeous Gillio Mia Cara

This year has been a good planner year for me. My collection has grown, and shrunk and grown again, and I have expanded my taste from being solely a ‘filofax gal’ to being a bit of a planner connoisseur.. at least that’s how it felt this morning when this beautiful Mia Cara landed on my doorstep!

photo 1

Those of you who follow the blog will know that I splurged on a Van Der Spek earlier this year, and while the VDS has become a permanent part of my collection (Velda is my time management planner), when the chance to buy this (third hand!) Gillio came up I simply couldn’t say no.

photo 3

I got a great deal on her, even though she is barely a month old, because Kate (her 2nd owner) felt bad about not loving her enough – this is how I know that planner people are my people, they are as sentimental about these bits of leather and metal as I am!

photo 4

She is going to be my ‘love binder’ where I’m going to collect all those little things that make me happy. AKA my thanksgiving, motivation and inspiration binder. Which is especially perfect since I bought her on thanksgiving day.

photo 5

Isn’t she gorgeous?

Now if you’ll excuse me, I have to get back to petting her.

2015 Planner Prep

I love this time of year.. I get so excited about putting together my planner for Jan 1st.

The idea of starting fresh with brand new planner pages gives me such a rush!

Gosh, that sentence makes me sound like SUCH a planner nerd!

Anyway, this last week has been especially wonderful because I’ve received 2 awesome parcels to help me prepare for 2015.

The first from Erin Condren, with lots of sticker goodies, and the second with my amazing new Life is Crafted inserts for 2015.

Want to take a look?

Who am I kidding? Of course you do!

The great thing about an Erin Condren parcel is that you know who it’s from as soon as you get it!

photo 1

photo 2

photo 3

photo 5

photo 4

And then this morning, I got a lovely express post parcel from the lovely Arienne at Life is Crafted.

This year I’ve chosen to use both the week on 2 pages AND the day on 1 page.

photo 1

Arienne has lots of different versions available. These are the A5 dotty rage – untimed.

photo 3

photo 4

Now I just have to wait for 2015 to arrive and I’m set!

Starting Fresh

It’s been quiet around here the last little while – on the blog I mean, not in real life – in real life there’s been a lot going on, but the reason for the blog silence is that I fell into planner limbo.

It all started with DIYfish..

photo 2

I LOVE the DIYfish inserts, I love how flexible they are and I think that the fold-out-able weekly and month view is pure genius. I loved using them, but I don’t have a lot of free time. I have a business to run and an autistic 3 year old to chase after, so the DIYfish ended up being too high maintenance for me.

Of course, by the time I had realised that DIYfish was too high maintenance for me, I had already RAK’d all my other inserts!

photo

So I was left with a system that wasn’t working for me and no back-up, and because it’s the end of the year, everything on the market right now is for 2015, not 2014.

Needless to say, panic ensued.

My first idea was to team up with a designer. Which was a great idea until we actually had to try and communicate (ha!). That didn’t work out – awkward!

But then, in a flash of inspiration I decided to create my own instead. I’m not really a DIY kind of gal so this was a big undertaking for me.

I can’t take full responsibility for the end result because the background design came from another free planner printable that I found on Pinterest a year ago and saved to my computer. I just worked over the top of it to personalise it to my needs.

Of course I can’t for the life of me find where the printable came from (I’ve been scouring Pinterest all morning!) so if they are yours, or you know where they came from, let me know so I can give credit where credit is due!

Here is what I came up with:

Screen Shot 2014-10-21 at 10.54.34 am

I am not clever enough to figure out how to have the date appear on the pages, so I have to write them in myself, but I did the rest of the year last night and it only took 30 minutes so that’s not too bad:

photo

Here is a run-down of what each section is for:

Screen Shot 2014-10-21 at 8.26.35 am

And here’s what it looks like in my planner:

photo

Overall I’m pretty happy and at least now I’m set for the rest of 2014.

I’ve got some Life is Crafted W02P pre-ordered for 2015 so they only have to get me through until then!

Budgeting in my Planner – Envelope Style

In the age of online shopping, the only sure-fire way for me to save money is to squirrel away cash. Otherwise my savings get frittered away, one late night Etsy purchase at a time, until there’s nothing left in my accounts (but my desk drawers are full of pretty stickers for my Van Der Spek!).

I’m sure you can relate.

Paypal has a lot to answer for.

Anyway… to make sure there’s always cash around for when we need it, I have an envelope budgeting system set up in my lovely binder.

I took some photos for you to see.

IMG_3718 IMG_3721

My bills and rent are paid automatically out of the bank account so they aren’t included in the envelope system. Instead I have these categories:

* Rainy Day Fund – for unexpected expenses like broken appliances or lost phones.

* Home School Fund – for fun excursions or school supplies.

* Savings – for big purchases or holidays.

* Snip Fund – the big V 🙂

* Car Money – these are usually yearly costs like registration, insurance or servicing.

* Family Fun – a nice meal out, a day trip to the zoo – that kind of thing.

IMG_3728

I got the envelopes from this seller on Etsy, and punched them with my filofax holepunch.

Then added the super cute mason jar stickers, which were a group buy on facebook.

The speech bubbles came from Joey Design on Etsy.

IMG_3723

Each time I add some money to the envelope, I put a little star or heart on the outside.

IMG_3726

I work from home, so my filofax doesn’t really venture outside. If you take your filofax with you everywhere this might not be a good system for you.. as if losing your filofax wouldn’t be heartbreaking enough, losing your life savings as well would really put a wrinkle in your day!

________________

For more planner related tips visit me on facebook, and if you haven’t already subscribed, don’t forget to subscribe to the blog above.


Weekly Planning – The Sunday Sessions

One of the biggest secrets about being an organised person is that it takes time.

I’ve already posted a little about how I spend my organising time in “How to Use a Planner to Get Organised” and in “Prepping for the Month Ahead” I outlined how I set up my planning ‘foundation’ for the coming month.

Today, I’m sharing my process for my weekly planning session.

My Sunday Sessions are probably the most time intensive, but also (I think!) the most important for making sure the week ahead goes smoothly.

Step 1: The Week in Review

First things first I do a review of the week that just passed.

IMG_1630

If you’re using DIYfish inserts, there is already a section there for you to do this, if you’re using Life is Crafted, Arienne has a monthly review area you can use, but just a plain sheet of paper will be fine too!

What you choose to focus on in your week review is completely up to you, it might be financial goals or fitness goals – whatever you like.

Personally I focus on 4 areas:

  • Gratitude – 3 things I’m grateful for
  • Achievements – 3 things I’m proud of
  • Memories – 3 best moments of the week
  • Improvement – Something to change/focus on improving next week

This process gives me an opportunity to reflect on the week that passed, and take stock of my strengths and weaknesses, as well as celebrate the fun moments or things that made me feel happy.

Step 2: Setting Your Intentions

That sounds really ‘new-agey’ but setting intentions is a great way to acknowledge what you want to achieve in the week ahead.

IMG_1632

Sometimes this section includes things like:

  1. No More Washi Tape!
  2. Stop Procrastinating!
  3. Don’t Visit Etsy!

Other weeks I focus on my personal or work goals, or even specific to-dos. My priorities change from week to week depending on what I feel is needed to balance out my life in that particular week. We are currently in the process of moving house, so for this week my top 3 priorities are:

  1. Pack non-essentials using colour coding index
  2. Create cleaning plan for new house
  3. Book services for moving weekend (mover, carpet cleaner etc)

Step 3: Weekly Overview

Before I even step into my daily pages, I use my DIYfish weekly overview page to map out the week.

I break each day into 5 sections.

  • Meal Planning
  • Cleaning Zone
  • Project Deadlines
  • Daily Kid’s Activity
  • Blog
  • Luke’s Roster

photo 4

I have 2 main reasons for using this section.

  • Balance: I want to make sure I have a good balance over the week. That I’m not overwhelmed with work, that we’re eating well, and that our activities are focusing on each of areas that Juniper needs to build on (Fine motor, Gross motor, Memory & Listening).


  • Flexibility: This is just an overview and is not set in stone. This plan often changes as my week evolves. For example: I might switch up the meals if Luke’s roster changes or drop an activity if we stay out late one day and don’t get back in time. So often I don’t add them all into my daily pages until I have a better idea of what’s happening.


Step 4: Daily Pages

As you know I use DIYfish Day on 2 Pages inserts, which leaves me with lots of room for planning and tracking and routines. This is what they look like at the start of the week:

IMG_2779

Often I add a little flair to my pages with positive quotes and stickers, but the most important thing for me to add at the start of the week is Luke’s Roster, and my project deadlines – everything else in our days is flexible and may change.

photo 2

Luke’s work hours are indicated with the green line.. I block out the hours he will be gone. The red dot means that I have a deadline that day – the details of which will be added to my work to-do list on the 2nd page.

I also add in any immovable items like time specific appointments, social gatherings or visitors, and then I build up my ‘flexible’ daily items around them, and that includes things like my blog posts or Juniper’s daily activities.

Before I finish my weekly session, I cross reference against my DIYfish monthly and weekly inserts to make sure I haven’t overlooked anything important.

Then I’m set for the week!

_______

I’ll give you a closer look at how I use those daily pages this week when I write my DO2P post – so stay tuned!

Subscribe to the blog to make sure you don’t miss out, or like The Peaceful Parent Facebook Page to get updated when there’s a new post.


Prepping for the Month Ahead

If you read my post “How to Use a Planner to Get Organised” then you already know that being organised takes time. Aside from the daily “visiting hours” I wrote about in that post, I also have a planning session before the start of each new week, and each new month.

Today I’m sharing how I prepare my planner for the month ahead.

Preparing for the Month Ahead

My monthly planning session has 3 simple steps, some months will naturally be more complicated than others, but this process should give you a good place to start.

Step 1: Separate Your Weeks

This first step has been a huge time saver for me.

Having daily pages – or in my case, day on TWO pages, means that you have a lot of pages in your planner each month.

When I was first transitioning from my week on two pages set up I found it very frustrating flipping between pages and often wasted a lot of time trying to find the right page. So, I created this system to help me easily identify each week in the month.

IMG_2761

Each weeks get a different colour so that I can more easily find any date I need.

For people who have a week on 2 pages, this system could still work for differentiating between the months in your planner.

You could also do it on the side edge, but I like to keep that blank so I can still use the DIYfish indexing system.

Added bonus – it makes your planner look extra pretty!

IMG_2773

Step 2: Customise Your Pages

One of the things I love about the DIYfish inserts is that they are so plain, which sounds like a bad thing, but it actually makes them really customisable for whatever you need.

My monthly prep includes washi taping the blank second page into sections to make it more usable for what I need.

IMG_2779

I also use a custom stamp from Etsy to put my daily tracking prompts.

IMG_2794

IMG_2804

I also add some little motivation stickers and stuff like that. Some people like to theme out their pretty pages, but I am far too style challenged to do that!

Step 3: Transfer Your Information

I have three places where I store information that needs to be put into my inserts at the start of each month.

  1. Monthly Inserts – I only have one month at a time of daily inserts in my planner, but I keep an entire year of monthlies in there so the monthly pages collect a lot of information as I go.
  2. Important Dates – I have a page entitled “Dates to Remember” in my planner. On that page I write anything that will need to be scheduled, but isn’t necessarily important enough to go into my Monthly page. So, appointments that need to be made, but don’t have a set day yet, or general tasks that won’t fit in the small monthly page.
  3. Perpetual Calendar – I keep my Erin Condren perpectual calendar in the back pocket of my planner. It has all of my important recurring dates throughout the year – birthdays & anniversaries mainly. When adding these dates to my planner, I not only put a note on the date itself, but also a reminder the week before to get a card or gift.

IMG_2806

photo 1

These 3 small steps give me a great foundation for planning throughout the month.

Next up I’ll show you how to use this foundation to help with weekly goal setting, priority planning and daily tracking. Make sure you follow the blog so you don’t miss out – and remember to become a fan of the Peaceful Parent Facebook Page.

Moving Into My New Van Der Spek

Here I am, as promised in my Van Der Spek Unboxing post, ready to share some ‘moving in photos’ as I transition from my old Filofax A5 Holborn and into my new lovely VDS. You’ll be happy to know that I took these photos in the light of day, so they are much better than the unboxing set!

Moving Into My New Van Der Spek

Here she is in the light of day: look at that stitching!

photo 1

I got the binder without stiffener so it is lovely and bendy – just the way I like them!

photo 1

So many pockets in that front section! And they hold a lot more than I was expecting, they look so neat that I expected that would be really tight, but actually they are lovely and large and easily fit everything I need.

photo 1

The gorgeous Personal Filofax Teal Baroque for colour reference.

photo 5

She sits completely flat right out of the box, without any training at all, and best of all, she still keeps the structured line of a beautiful old book.

photo

It’s such a small detail, and one most people probably don’t even think about, but the closure flap even naturally sits away from the binder so you don’t have to keep moving it out of the way to write.

photo

And check out the size of those rings!

photo

Lovely gusseted back pocket – the perfect size to fit my Erin Condren perpetual calendar!

photo 1

And here’s a look at my DIYfish inserts in the VDS binder (Planner Peace?!?)

photo 2

Needless to say, I’m completely in love!

If you have any questions about the Van Der Spek, or about how I’m using my planner, leaving a comment below, and don’t forget to visit me on Facebook too.