planning

Top Planner Tools for 2017

It’s that time of year again – time to get ready for a new year of planning!

If you’re anything like me you were probably a sucker for the “back to school” stationery run before the start of the school year when you were a kid. For me, calendar/planner shopping in December is my adult version of that and I just love it.

So what tools do I have in my arsenal for 2017?

Screen Shot 2016-12-13 at 8.19.12 pm.png

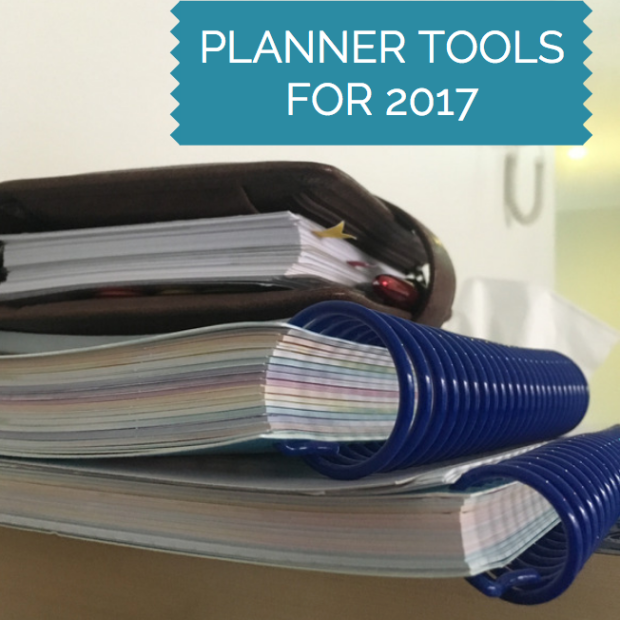
One thing I know about my own personality is that I’m very good at KEEPING on top of things, but I’m not always very good at getting back on top of them if I get slack, so I have to make sure I start the new year as strong as possible and stay on track. The best way to do that is to have the right planning tools.

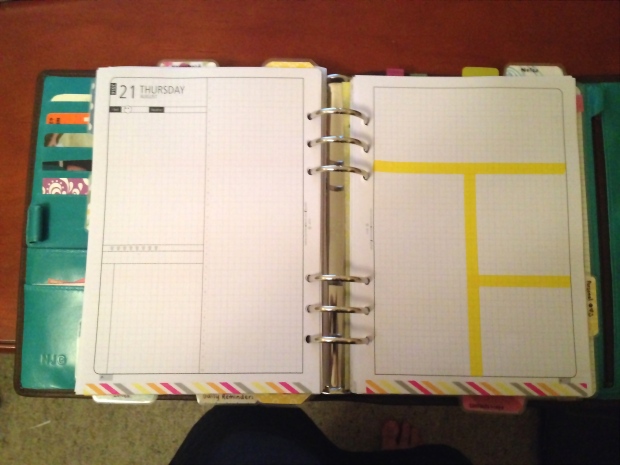
#1: Time Management Binder

img_1188

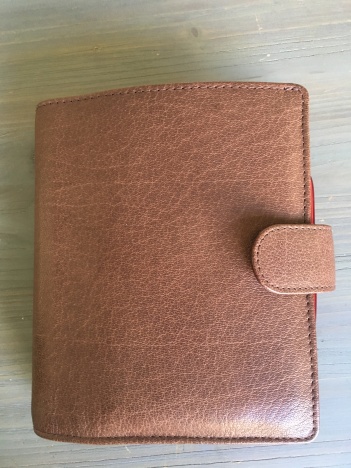
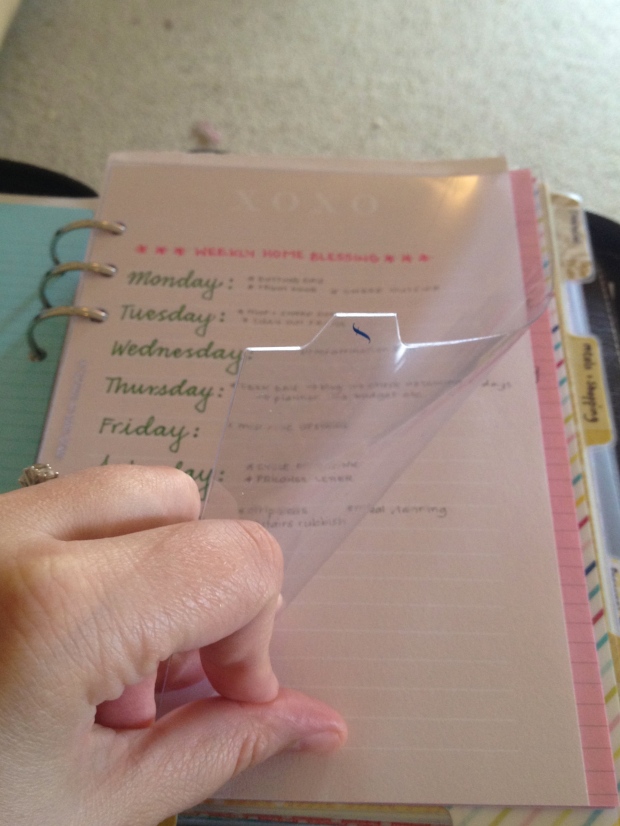
I bought this beautiful A6 ring bound planner from Van Der Spek 12 months ago and it has been my main planner for the entirety of 2016. That has never happened to me before and I can honestly say that this planner might end up being the only binder style planner that I use from here on out. A6 is the perfect size for me. Wider than the personal, which always felt too “listy” and much more portable than the A5. I’m thrilled with this size.

img_1194

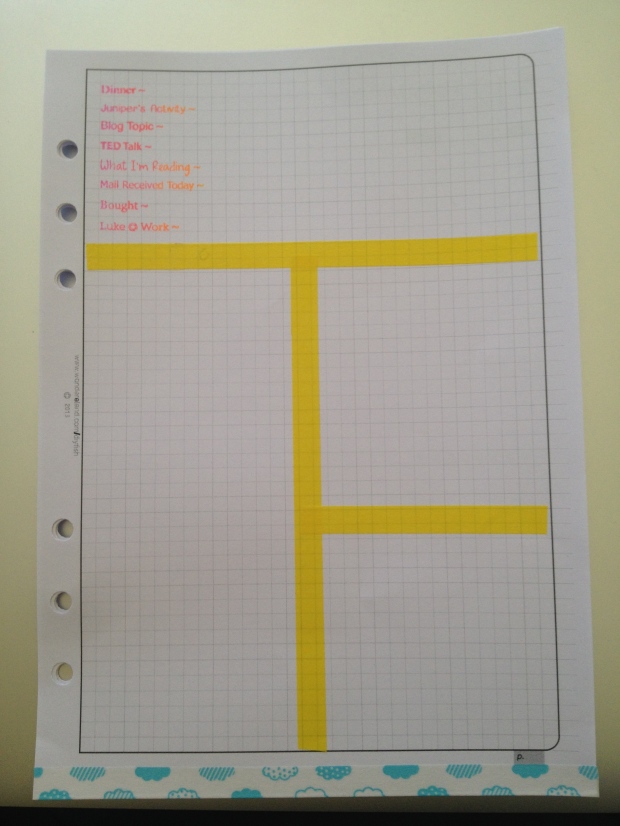
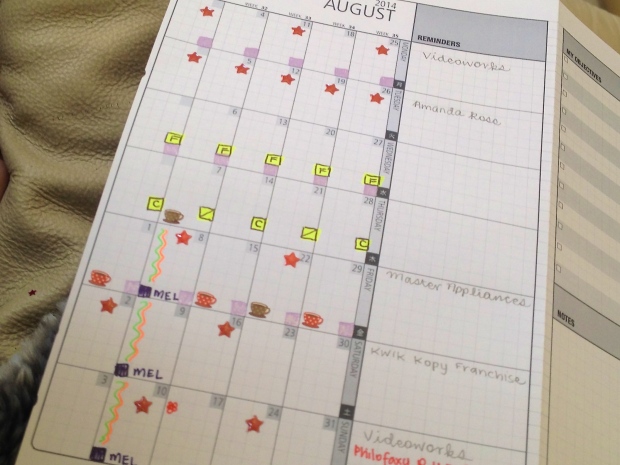
One downside of the A6 size is that it’s not yet very popular, so there aren’t a huge range of inserts available for it. I found a woman on Etsy who does custom designed inserts for an amazing price. I got a full year’s worth of inserts, fully custom designed to my specifications for $30 AUD including shipping from The Netherlands. The design I chose is super minimalist but Lizzu can design anything you like. Check out her shop here.

img_1190

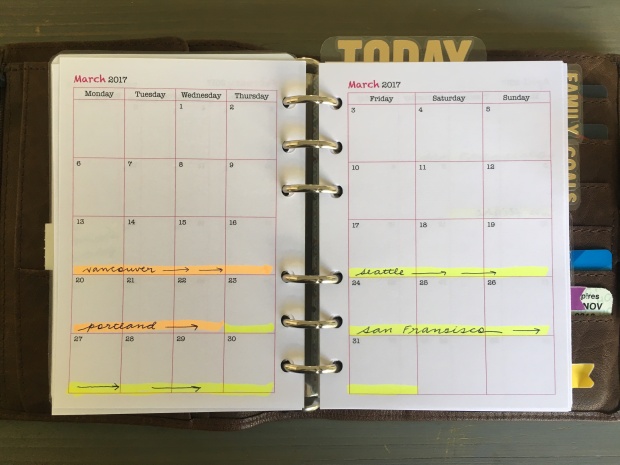
For monthly planning I have inserts from here.
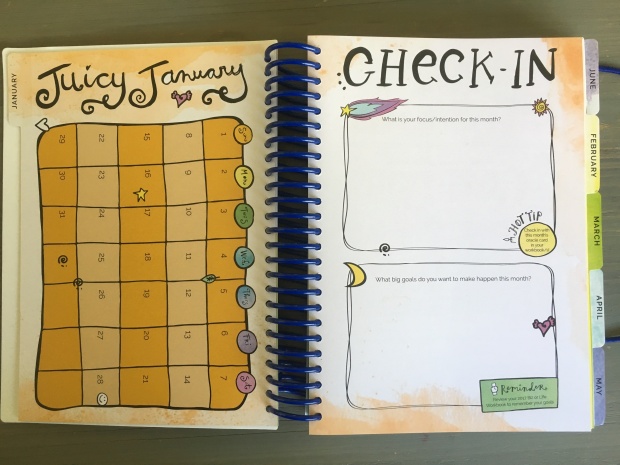
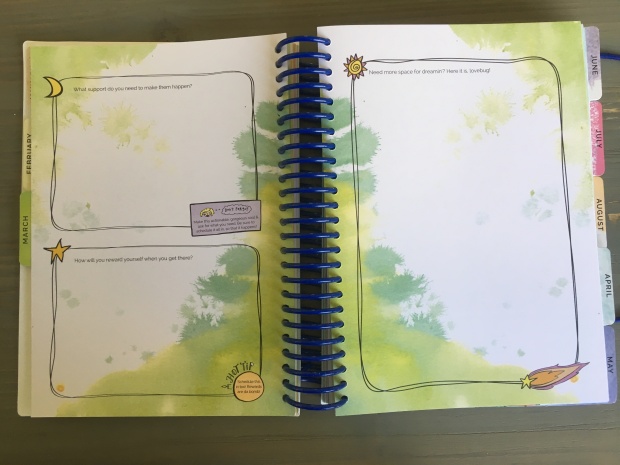
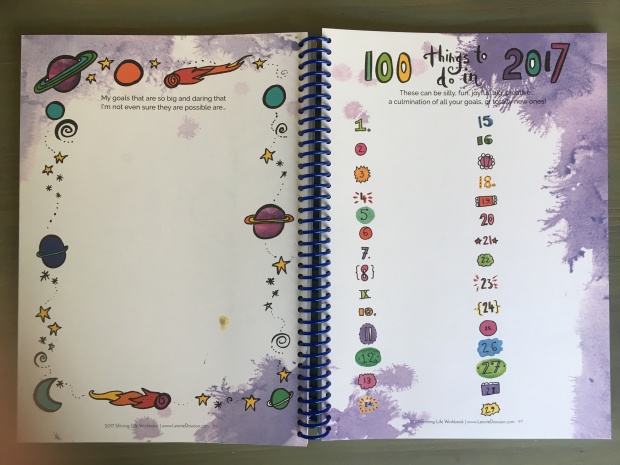
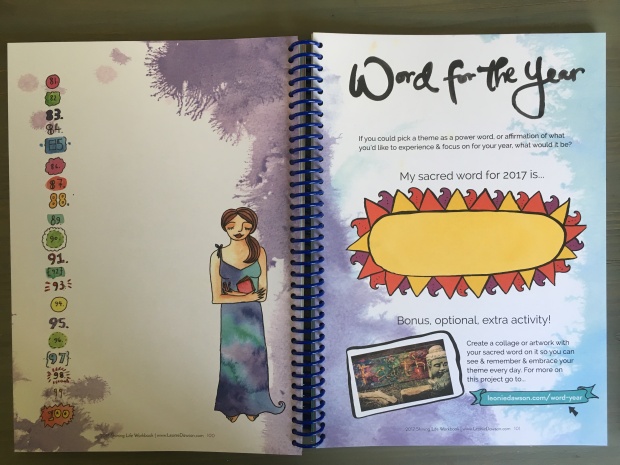
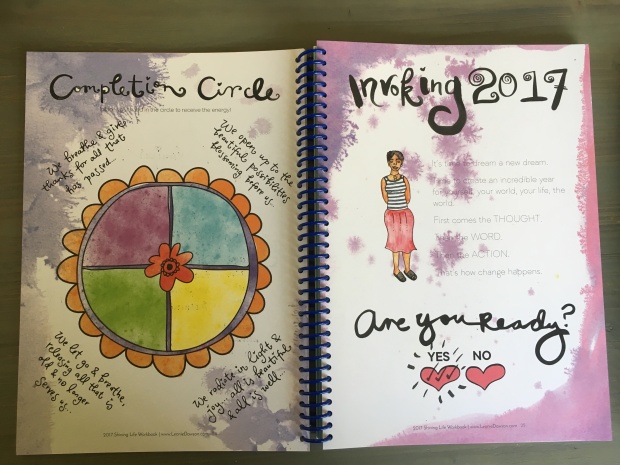
#2: Personal Growth

I absolutely cannot get enough of these Leonie Dawson products. The eBook versions start at just $10! I discovered her a few years ago now and her books have completely transformed my life. I know, I know, that sounds insane, but there is just something about them that sets off sparks for me. They are so beautiful, and as you work through them you can feel yourself consciously settingĀ  intentions. It’s very powerful. If you want to make changes in your life and you’re not sure how to do it, or you’re looking for some inspiration or direction for your future I highly recommend getting these books and working through them. In the years I’ve been buying them I’ve experienced amazing growth in my personal life. I’m more motivated and inspired than I’ve ever been before and if I could only buy ONE planner tool for 2017 the life planner pack from Leonie Dawson would be it.

img_1178

img_1185

img_1186

img_1182

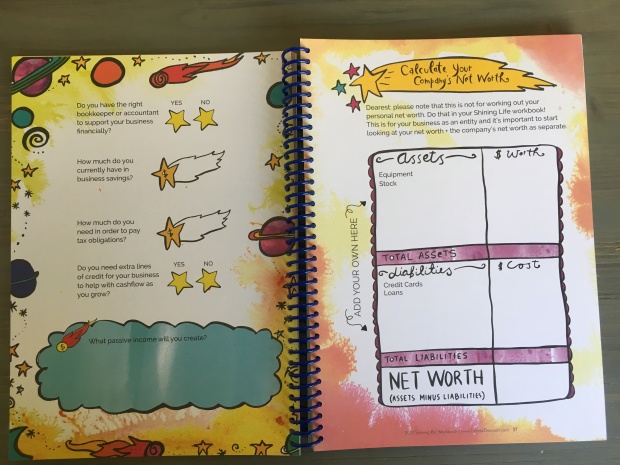
#3: Business Planning

If you’re a business owner as well (or you want to be) you might also be interested in her biz planner pack. The digital version starts at just $10, or you can get the actual books mailed out to your address. I’ve had my own business now for 6 years and I have 2 secrets to success. The first is forward planning. When you’re a business owner it can be tough finding time to really focus on growing your business in a meaningful way.. you’re always so busy dealing with the day to day stuff and it can be hard to see the big picture. Taking time at the end of the year to reflect on the previous 12 months and to map out a strategy for the new year is so incredibly important for business growth and I recommend everyone with a business – no matter how small – make time to do it. You don’t have to have pretty pages to get it done, any plain paper will do, but if you want something pretty that you’ll enjoy filling out you can buy my favourite business planner here.

img_1170

img_1173

img_1172

img_1174

My second secret is to surround myself with inspiring, motivated and like-minded people. I have a few groups that I’m a member of, all filled with inspiring business owners who have mentored me and helped me achieve great things and I really recommend that any business owner find themselves a group that fits their goals and lifestyle. If you’re looking for a diverse, vibrant, online group that is part magical motivator academy and part support group the shining academy is a great place to start. Check them out here. Membership has a fee but it will absolutely change your life.
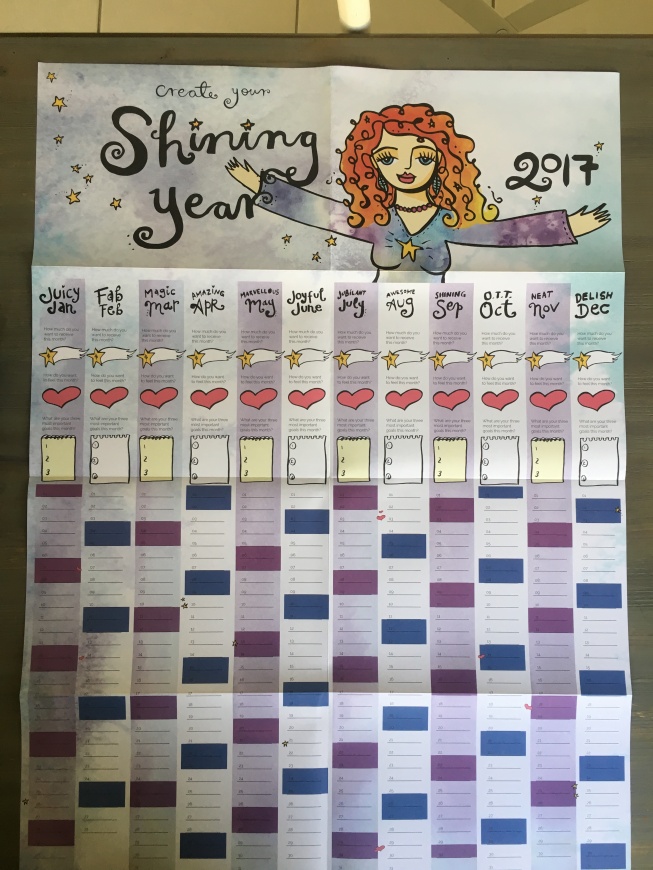
GIVEAWAY

img_1163

The Personal & Biz planning packs also come with a beautiful 2017 diary which is completely gorgeous and makes a great gift if, like me, you already have a permanent planner like a filofax or VDS. I’m giving mine away! So if you want a chance to receive the 2017 diary for yourself, share this post on one of your social media platforms with the hashtag #peacefulparentplannergiveaway and comment below telling me where you shared it and your favourite thing about planning for the new year. The prize pack will include the 2017 diary, and an A3 2017 wall poster to track your goals. I’ll contact the winner via email on Christmas day.

screen-shot-2016-12-13-at-10-11-11-pm

img_1165

img_1164

img_1166

img_1168

Weekly Planning – The Sunday Sessions

One of the biggest secrets about being an organised person is that it takes time.

I’ve already posted a little about how I spend my organising time in “How to Use a Planner to Get Organised” and in “Prepping for the Month Ahead” I outlined how I set up my planning ‘foundation’ for the coming month.

Today, I’m sharing my process for my weekly planning session.

My Sunday Sessions are probably the most time intensive, but also (I think!) the most important for making sure the week ahead goes smoothly.

Step 1: The Week in Review

First things first I do a review of the week that just passed.

IMG_1630

If you’re using DIYfish inserts, there is already a section there for you to do this, if you’re using Life is Crafted, Arienne has a monthly review area you can use, but just a plain sheet of paper will be fine too!

What you choose to focus on in your week review is completely up to you, it might be financial goals or fitness goals – whatever you like.

Personally I focus on 4 areas:

  • Gratitude – 3 things I’m grateful for
  • Achievements – 3 things I’m proud of
  • Memories – 3 best moments of the week
  • Improvement – Something to change/focus on improving next week

This process gives me an opportunity to reflect on the week that passed, and take stock of my strengths and weaknesses, as well as celebrate the fun moments or things that made me feel happy.

Step 2: Setting Your Intentions

That sounds really ‘new-agey’ but setting intentions is a great way to acknowledge what you want to achieve in the week ahead.

IMG_1632

Sometimes this section includes things like:

  1. No More Washi Tape!
  2. Stop Procrastinating!
  3. Don’t Visit Etsy!

Other weeks I focus on my personal or work goals, or even specific to-dos. My priorities change from week to week depending on what I feel is needed to balance out my life in that particular week. We are currently in the process of moving house, so for this week my top 3 priorities are:

  1. Pack non-essentials using colour coding index
  2. Create cleaning plan for new house
  3. Book services for moving weekend (mover, carpet cleaner etc)

Step 3: Weekly Overview

Before I even step into my daily pages, I use my DIYfish weekly overview page to map out the week.

I break each day into 5 sections.

  • Meal Planning
  • Cleaning Zone
  • Project Deadlines
  • Daily Kid’s Activity
  • Blog
  • Luke’s Roster

photo 4

I have 2 main reasons for using this section.

  • Balance: I want to make sure I have a good balance over the week. That I’m not overwhelmed with work, that we’re eating well, and that our activities are focusing on each of areas that Juniper needs to build on (Fine motor, Gross motor, Memory & Listening).


  • Flexibility: This is just an overview and is not set in stone. This plan often changes as my week evolves. For example: I might switch up the meals if Luke’s roster changes or drop an activity if we stay out late one day and don’t get back in time. So often I don’t add them all into my daily pages until I have a better idea of what’s happening.


Step 4: Daily Pages

As you know I use DIYfish Day on 2 Pages inserts, which leaves me with lots of room for planning and tracking and routines. This is what they look like at the start of the week:

IMG_2779

Often I add a little flair to my pages with positive quotes and stickers, but the most important thing for me to add at the start of the week is Luke’s Roster, and my project deadlines – everything else in our days is flexible and may change.

photo 2

Luke’s work hours are indicated with the green line.. I block out the hours he will be gone. The red dot means that I have a deadline that day – the details of which will be added to my work to-do list on the 2nd page.

I also add in any immovable items like time specific appointments, social gatherings or visitors, and then I build up my ‘flexible’ daily items around them, and that includes things like my blog posts or Juniper’s daily activities.

Before I finish my weekly session, I cross reference against my DIYfish monthly and weekly inserts to make sure I haven’t overlooked anything important.

Then I’m set for the week!

_______

I’ll give you a closer look at how I use those daily pages this week when I write my DO2P post – so stay tuned!

Subscribe to the blog to make sure you don’t miss out, or like The Peaceful Parent Facebook Page to get updated when there’s a new post.


Prepping for the Month Ahead

If you read my post “How to Use a Planner to Get Organised” then you already know that being organised takes time. Aside from the daily “visiting hours” I wrote about in that post, I also have a planning session before the start of each new week, and each new month.

Today I’m sharing how I prepare my planner for the month ahead.

Preparing for the Month Ahead

My monthly planning session has 3 simple steps, some months will naturally be more complicated than others, but this process should give you a good place to start.

Step 1: Separate Your Weeks

This first step has been a huge time saver for me.

Having daily pages – or in my case, day on TWO pages, means that you have a lot of pages in your planner each month.

When I was first transitioning from my week on two pages set up I found it very frustrating flipping between pages and often wasted a lot of time trying to find the right page. So, I created this system to help me easily identify each week in the month.

IMG_2761

Each weeks get a different colour so that I can more easily find any date I need.

For people who have a week on 2 pages, this system could still work for differentiating between the months in your planner.

You could also do it on the side edge, but I like to keep that blank so I can still use the DIYfish indexing system.

Added bonus – it makes your planner look extra pretty!

IMG_2773

Step 2: Customise Your Pages

One of the things I love about the DIYfish inserts is that they are so plain, which sounds like a bad thing, but it actually makes them really customisable for whatever you need.

My monthly prep includes washi taping the blank second page into sections to make it more usable for what I need.

IMG_2779

I also use a custom stamp from Etsy to put my daily tracking prompts.

IMG_2794

IMG_2804

I also add some little motivation stickers and stuff like that. Some people like to theme out their pretty pages, but I am far too style challenged to do that!

Step 3: Transfer Your Information

I have three places where I store information that needs to be put into my inserts at the start of each month.

  1. Monthly Inserts – I only have one month at a time of daily inserts in my planner, but I keep an entire year of monthlies in there so the monthly pages collect a lot of information as I go.
  2. Important Dates – I have a page entitled “Dates to Remember” in my planner. On that page I write anything that will need to be scheduled, but isn’t necessarily important enough to go into my Monthly page. So, appointments that need to be made, but don’t have a set day yet, or general tasks that won’t fit in the small monthly page.
  3. Perpetual Calendar – I keep my Erin Condren perpectual calendar in the back pocket of my planner. It has all of my important recurring dates throughout the year – birthdays & anniversaries mainly. When adding these dates to my planner, I not only put a note on the date itself, but also a reminder the week before to get a card or gift.

IMG_2806

photo 1

These 3 small steps give me a great foundation for planning throughout the month.

Next up I’ll show you how to use this foundation to help with weekly goal setting, priority planning and daily tracking. Make sure you follow the blog so you don’t miss out – and remember to become a fan of the Peaceful Parent Facebook Page.

Filofax Meets Flylady

I’ve been wanting to do a comprehensive look at how I’m using the DIYfish inserts, but I’ve had a few requests for a post about how I use my filofax to help me organise my flylady household goals so I thought I would share that today, and keep working on the DIYfish post for another day.

Today I’ll also be sharing more information about my ‘Daily Reminders‘ tab as promised in my TABS rundown, so stay tuned for that as well.

Filofax Meets Flylady

For any readers who don’t already know about the flylady, you can visit her website here.

If you struggle to keep your house clean, or you feel overwhelmed by housekeeping she is a great help.

Daily Tasks

Every day I have a few small things that I do to keep the house running and reasonably tidy I’ll go into more detail with those in my ‘Daily Reminders‘ post, but to give you a quick outline of the daily tasks that relate to flylady:

* Make the beds
* Do a load of Washing – wash, dry AND fold/put away
* Quickly ‘swish’ the toilets
* Wipe down the bathroom sink
* Do the dishes – wash, dry and put away
* Shine my sink
* Put out fresh dish towels for the morning

Weekly Tasks

Part of the flylady system is to have a ‘weekly home blessing hour’ but rather than do that on a Monday as she suggests I break it up over the week. I have a sheet of those tasks – tweaked to suit my family and circumstances – and the days I prefer to do them. I have a clear flyleaf over the top, and when a chore is done I tick it off with a whiteboard marker. At the end of the week the flyleaf is wiped clean and I don’t have to write a new list for each week.

IMG_2460

IMG_2437

Zones

My ZONES tab has 5 pages, each with a flylady zone outlined on it. The zones align with the zones on the flylady website, but have been changed to suit our home.

I use a clear filofax flyleaf page as a marker, so that I can easily see which zone I’m currently in, and like with the weekly tasks above, I use a whiteboard marker on the flyleaf itself to mark off completed items. When it’s time to move onto a new zone, I simply wipe it clean. That system means that I can reuse the zone pages and not worry about them getting messed up.

Flylady zones in my filofax planner

Flylady zones in my filofax planner

IMG_2450

IMG_2458